
PlayStation Optical Drive Replacement

Estate sale find!
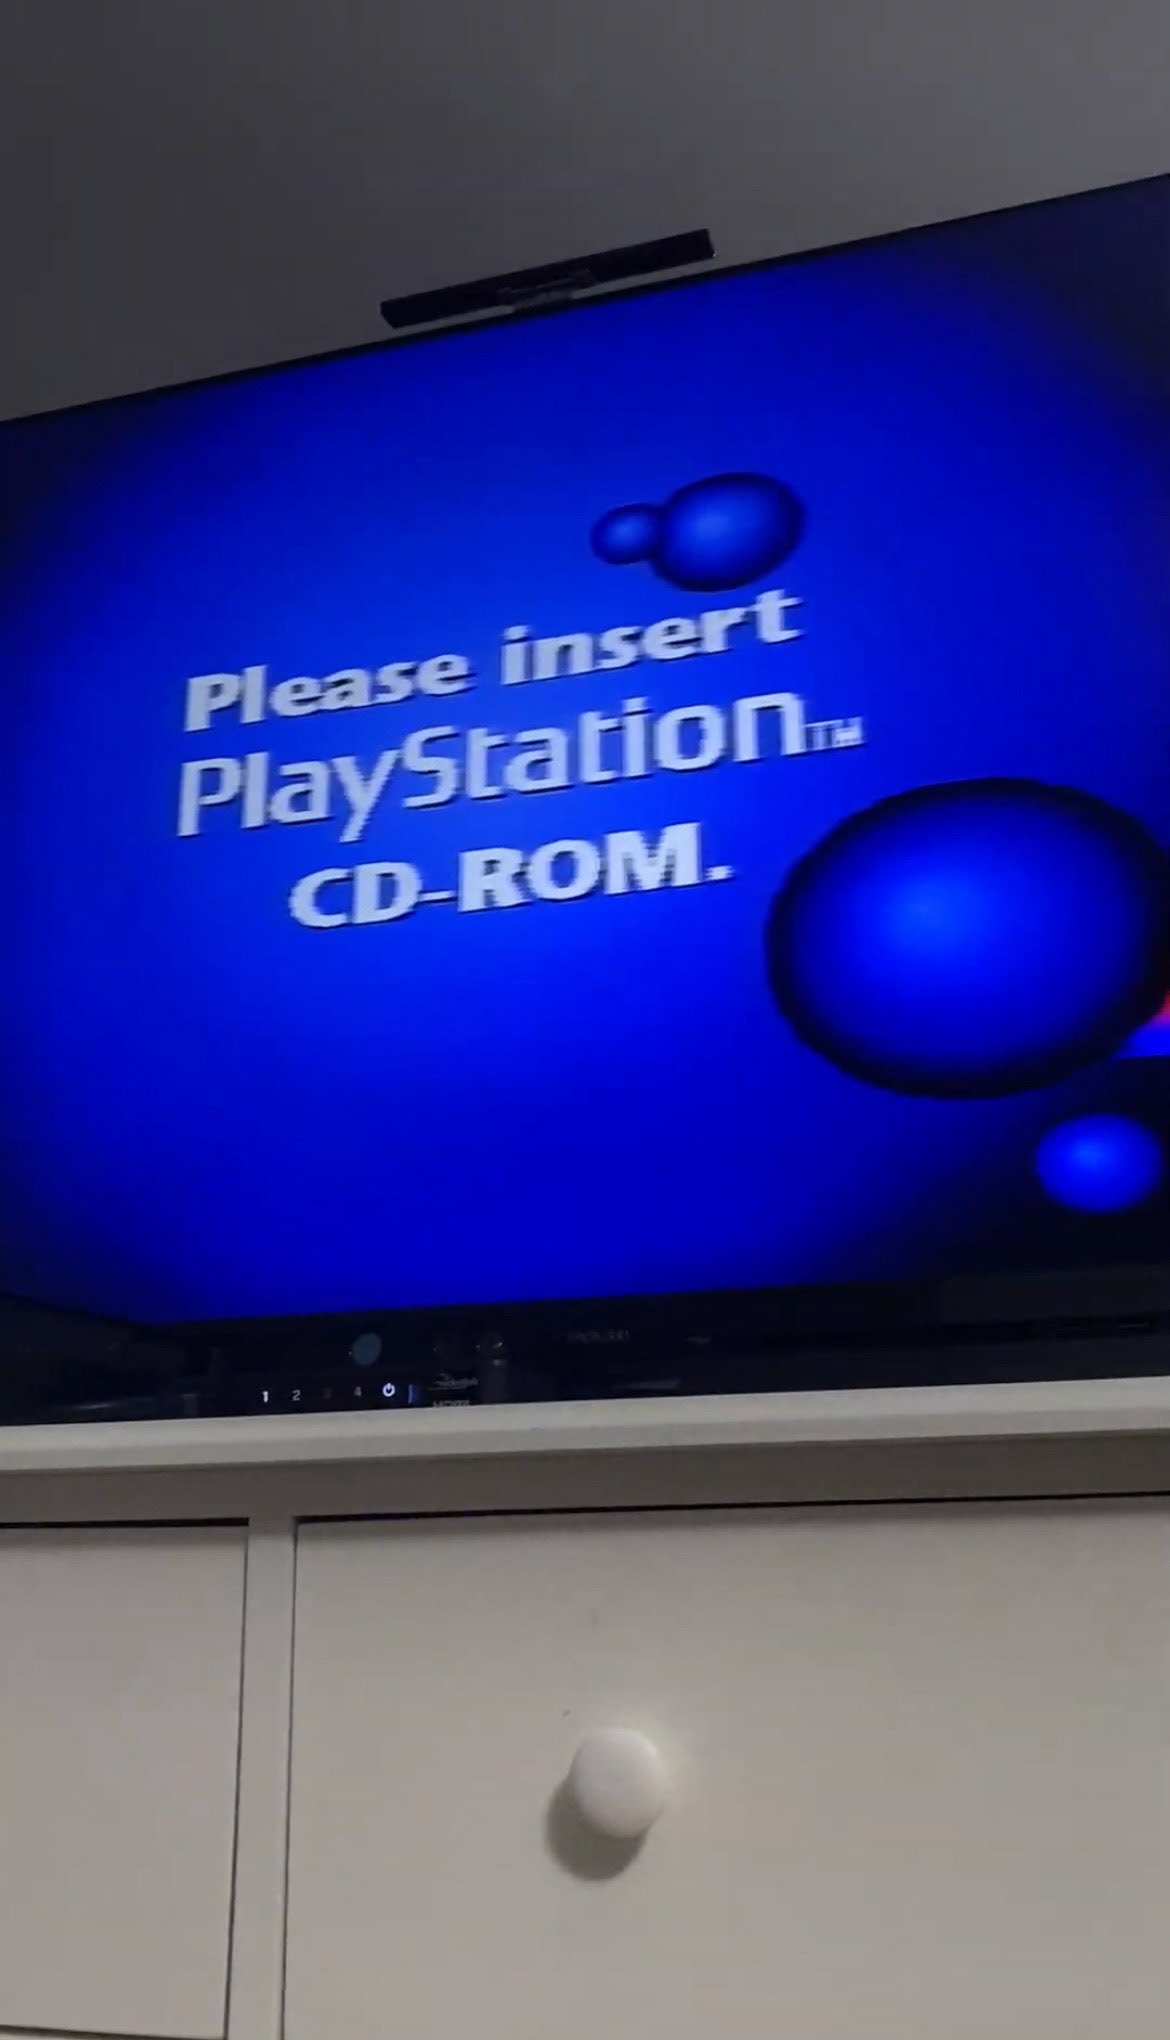
Not detecting discs
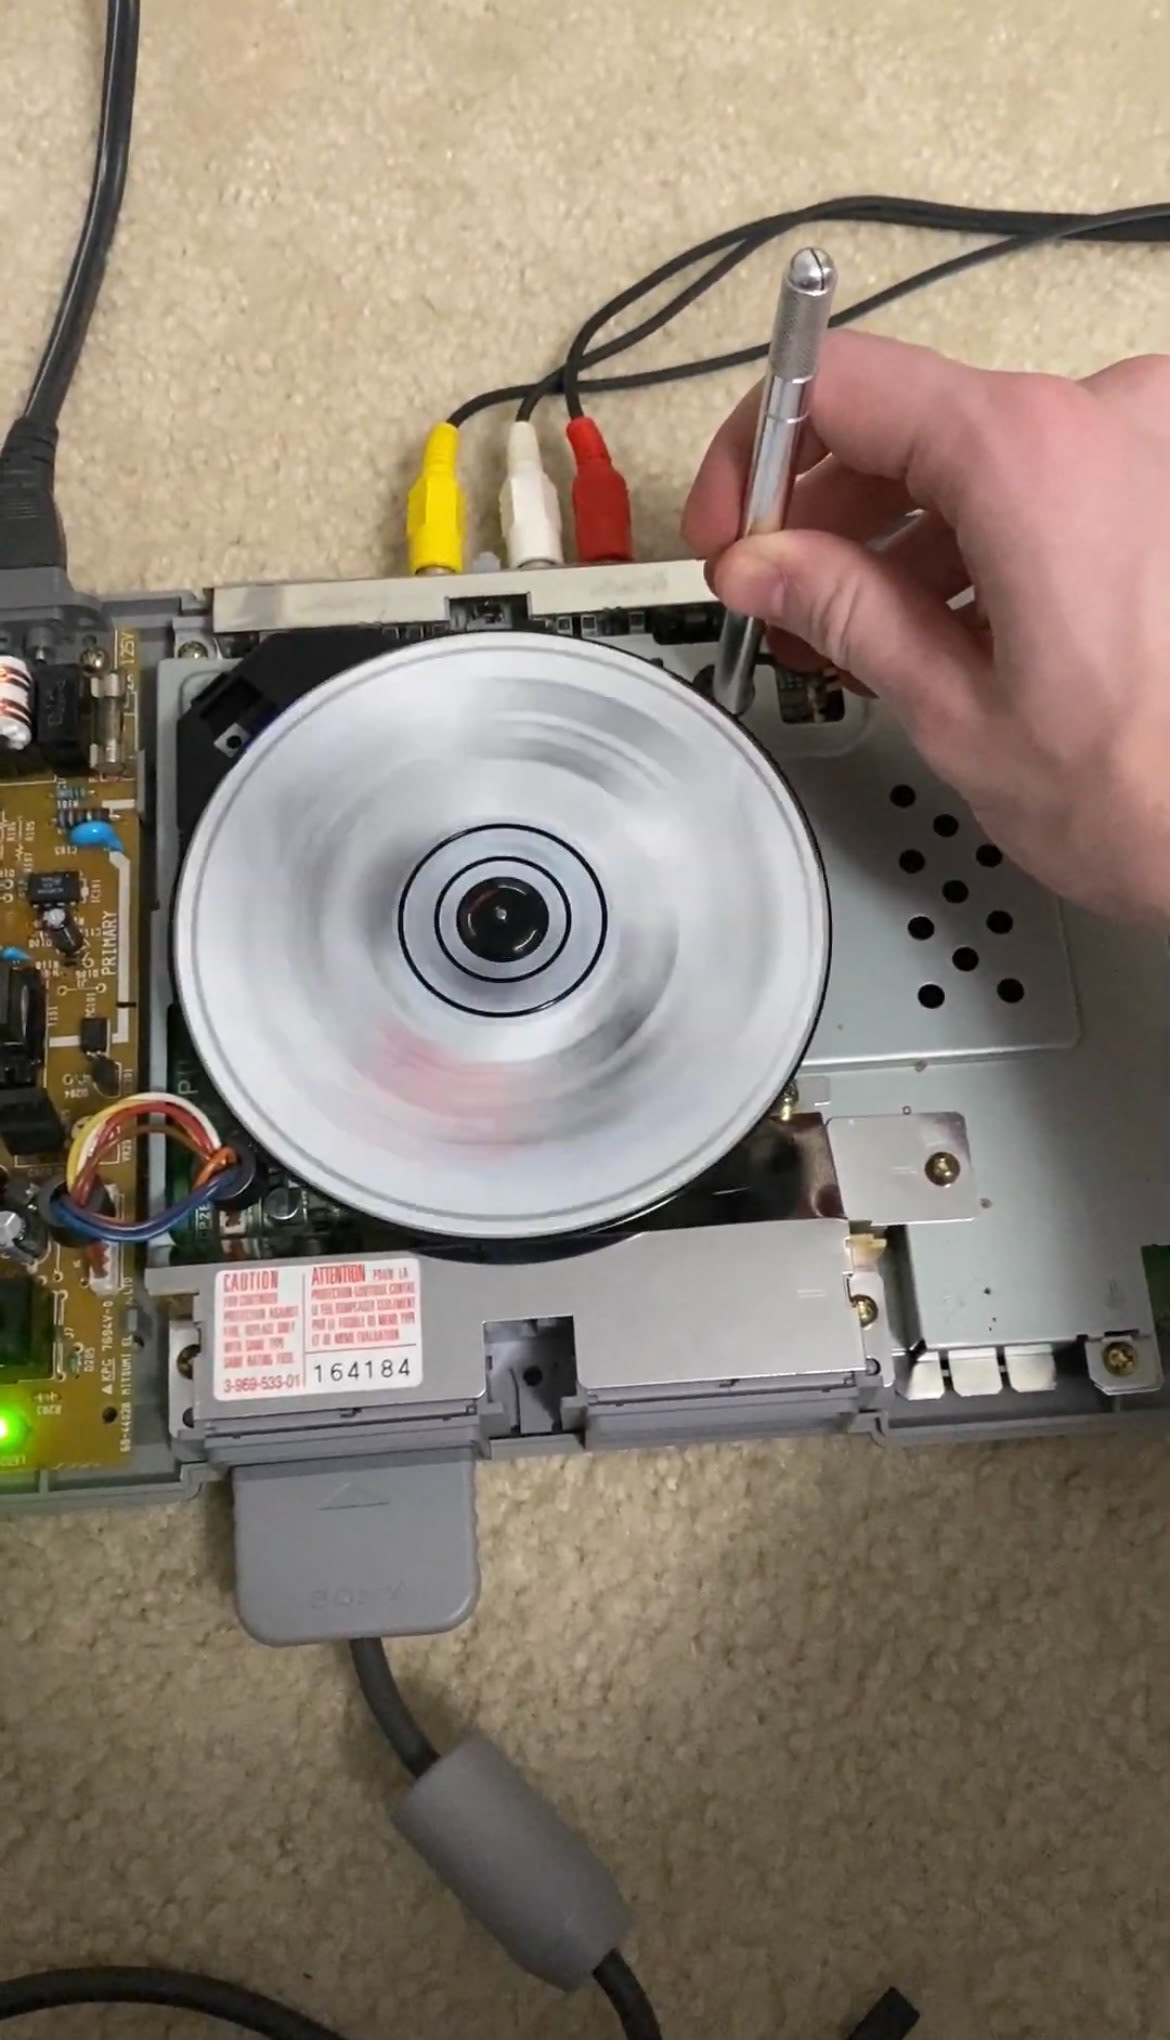
Manually spinning the disc

Original laser

New laser

Switching the laser housing

Good as new!
I found this PlayStation at an estate sale and after taking it home I found that it wouldn’t read discs. Cleaning it with Isopropyl alcohol and adjusting the potentiometers didn't fix the issue. The SCPH-1001 model oftentimes has issues with the laser, so I ended up buying an optical drive from a newer model and swapping them out. Only problem is—since it wasn't the same model, the plastic housing was different! I want all my restorations to look as close to original as possible, so I swapped the old housing onto the new optical drive. Now, it's back to reading discs!
Building a Retrobrighting Station

Reflective aluminum tape

Getting started on the wiring

Chaos!

Progress...

Voila!
Over time, plastics become discolored. UV light + hydrogen peroxide can reverse this process. This process is called “Retrobrighting,” and I built my own station to do it! I started with getting a large storage bin and covering the entire inside surface with reflective aluminum tape. I then took a roll of UV lights and cut them to size. The hard part was soldering the wiring to light them up, since it was my first time soldering. To use it, I place a small clear plastic bin inside the large one and fill it up with hydrogen peroxide. Then, I submerge the discolored parts in the liquid and weigh them down with some bolts. After a couple days, the plastic looks good as new!
Refurbishing a Nintendo Wii

Before and After

Cleaning the disc drive

Cleaning the fan

Cleaning the disc drive pt. 2

Removing original eject button (I accidentally ripped off a pad

Replacement pad for the eject button

Replaced button

Retrobrighting the shell
This was my first project that required circuit board repair. In 2021, my childhood Wii stopped reading discs. I took it apart to give the disc drive a good clean, and as you can see, it desperately needed it. There were no more issues reading discs after that! I also learned at that time that the Eject button was broken on the circuit board. At the time, I had no idea how to fix it, and it wasn’t a huge issue because it would still register presses from some angles.
In 2023 I decided to give it another go, and attempted to fix the button and restore the cosmetic issues on the shell. After a complete disassembly of the Wii, I submerged the outer shell in my Retrobrighting station and left it there for days. It removed the yellowing entirely. A magic eraser and plastic polish repaired most of the other dings and scratches on the shell. I was way out of my depths with the button. It was my first circuit board soldering job and I was unprepared for how difficult it would be. In removing the old button, I accidentally ripped off one of the solder pads. I was DEVASTATED and thought I had completely broken my childhood Wii past the point of no repair. After some research, I found out that it was able to be fixed, but I knew I wasn’t ready for it yet.
Fast forward a few months of soldering practice on junk boards, I was ready to try again. I reattached the pad and soldered on the new button. Now, the Wii is as good as new!
Refurbishing a PlayStation 4

Complete disassembly

Dirty fan

Clean fan

Dirty vents

Dirty controller

Gunk on eject sensor

Cleaned eject sensor

Broken ribbon cable

New ribbon cable

Fresh thermal paste

Voila!
I picked up this 500GB black PlayStation 4 console and controller from an estate sale just a couple miles away from my house. It was in great condition except for the fact that it wouldn’t eject discs, and the warranty sticker had been removed, meaning somebody had unsuccessfully attempted to repair it. Surprisingly, the issue was just the fact that it was dirty! There was some gunk on the connection for the eject sensor that I was able to clean off with isopropyl alcohol. I took the entire console apart to individually clean each piece, fitted it with some new thermal paste, replaced the ribbon cable that I accidentally broke the tabs off of (my bad!), and gave it a nice polish.
Cleaning a 1978 Magnavox Odyssey 2

Looked clean enough on the outside...

Some grime in the vents

Dusty bottom shell

Motherboard

Dust bunny

Dusty top shell

Yuck!

Controller

Cleaned top shell

Cleaned console

Cleaned controllers
My oldest console! I found this on Facebook Marketplace and knew I needed to go pick it up. It was in relatively good condition but I knew I wanted to give it a good clean. Opening it up was a whole new experience because it's held together by bolts instead of screws! Plus, the controllers are built directly into the console and are not detachable. It was very cool getting my hands on this older tech to see how consoles have changed over the years. Now… anyone down for a round of KC's Krazy Chase?
PlayStation 2 Fiasco

2 disassembled PS2s

The first one… RIP

Capacitor failure

At least I got a free game!

Scrub a dub

Washing the controllers too

Modchipped board
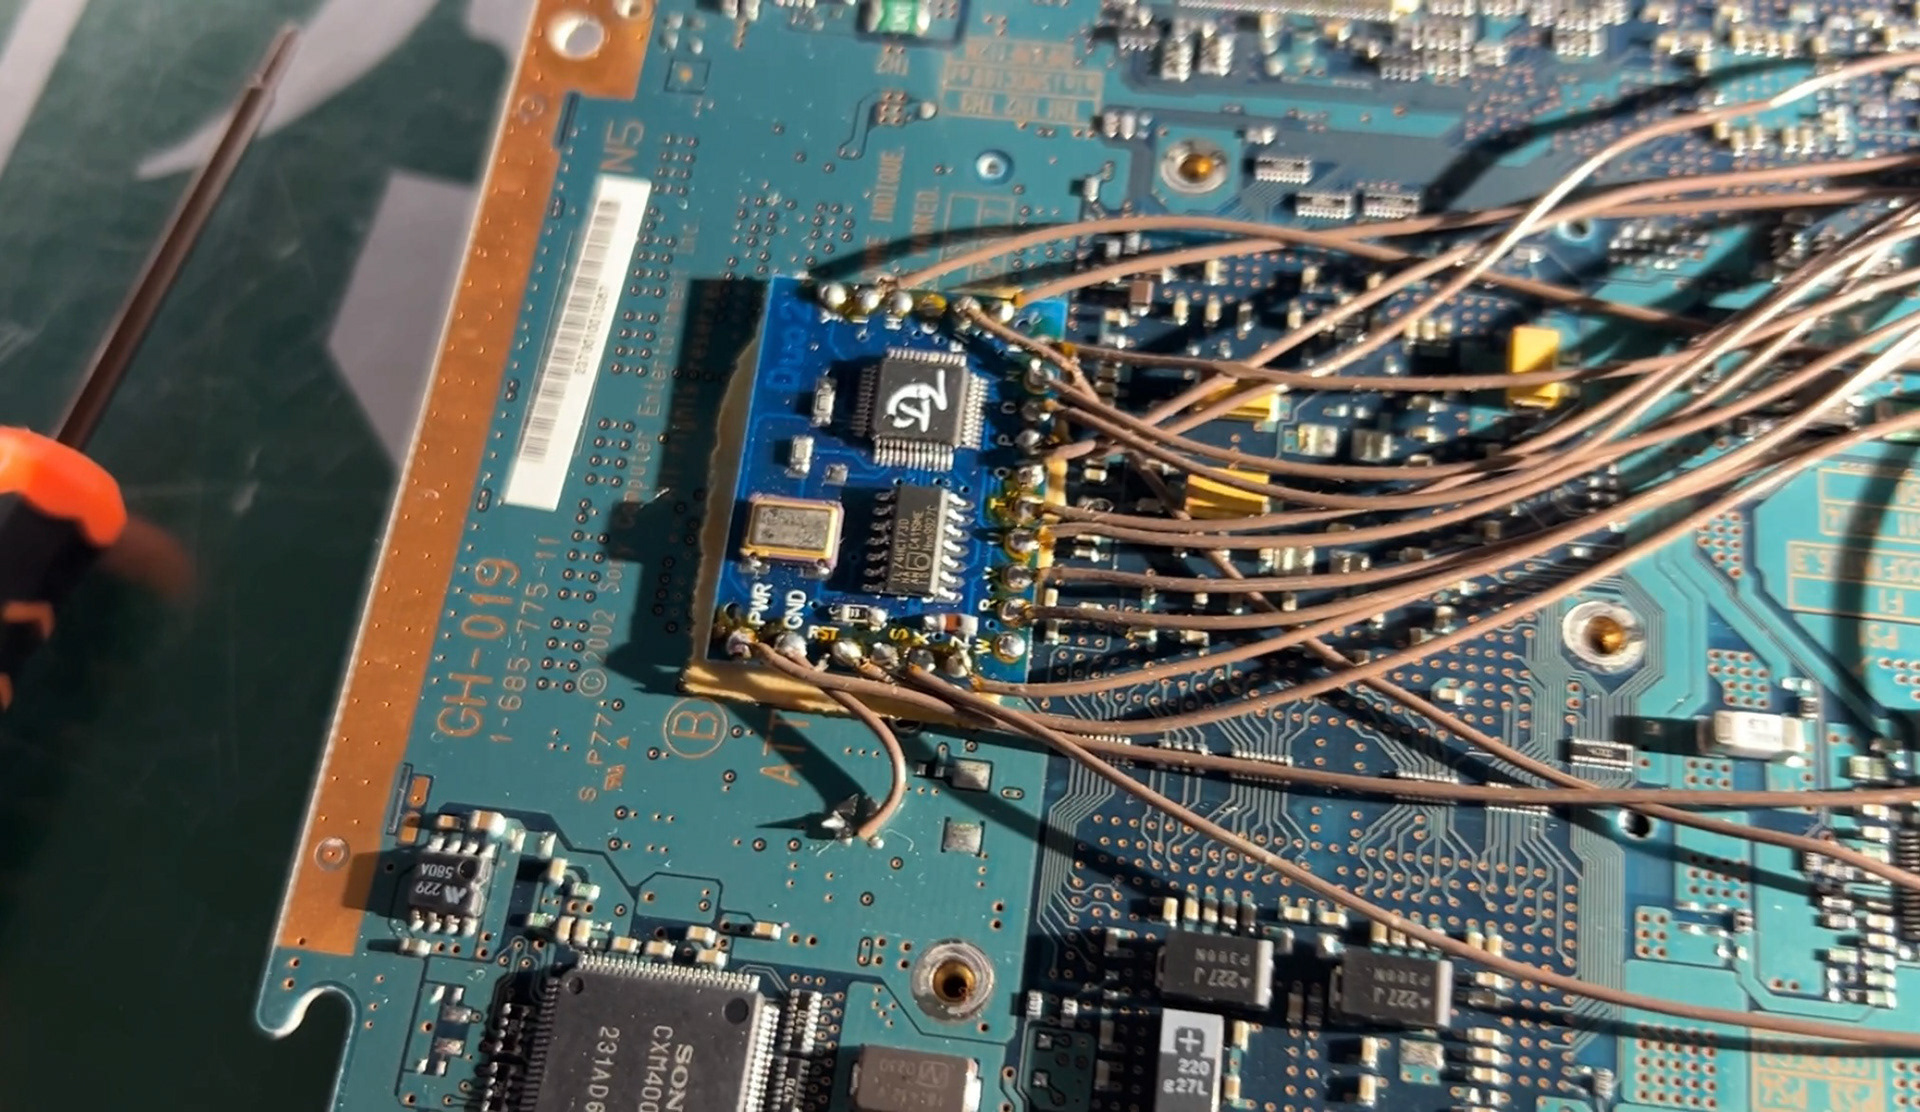
Duo 2 mod chip

Testing

GTA Time!
I'm cursed when it comes to PS2s! I currently have 4 of these, 3 of which are sitting broken in my closet. I bought the first one from an estate sale and didn't even get a power light when plugged in. The board had so much corrosion that people on Reddit advised me to just use it as donor parts and not attempt to repair it. I picked up another lot of 2 broken consoles to see if I could get 1 working between them. Unfortunately, there were some parts missing and they weren't all the same model, so some parts wouldn't fit properly. One of them would read discs some of the time but not always, but I couldn't diagnose the problem. Overall, I had too much trouble with all of these and decided to call it quits for the time being. However, an interesting find was that one of the boards was modchipped with a Duo 2 chip. When I get better with circuit boards, I may salvage and reuse the chip. Finally, I acquired a 4th PS2 that was in better condition but the controller ports didn't work properly. That was an easy swap with the other port I had, and now I finally have a working PS2!
Homebrewing a Nintendo Wii

Homebrew Channel

My games!

Looks super cool with my TV backlight
This was surprisingly easy to do! All you need is an internet connection or SD card. I used the Wii EULA exploit and it was very straightforward. It's important to note that this is completely legal, and all of the games shown are games I own. USB Loader GX allows you to play your games without having the disc inserted. I brought my Wii on a weekend trip with friends and it was great not having to bring a million discs.
Replacing an XBOX One S Hard Drive

Failing hard drive

Error E106 after hard drive swap

Back in working condition after an offline update
I purchased a broken XBOX One S that was believed to have an issue with the retimer chip. This is a common issue that causes the XBOX to not output any display. However, upon my own troubleshooting, I quickly realized this was not the case. In addition to the XBOX not showing up on my monitor, it also automatically shut itself off a minute and 8 seconds after being turned on. It consistently did this even after swapping out the power supply and power cord. I learned that this issue is frequently caused by a failing hard drive, and after swapping out the hard drive, both issues were resolved. However, I still could not use the XBOX because of an E106 error. Furthermore, it would not let me reset the XBOX, because every time I tried it would loop back to the error message. I was able to download an offline update onto a flash drive and update the system that way. After a TON of troubleshooting & trial and error, this XBOX One S in back in perfect working condition.
Rehousing an XBOX One Controller

Before — busted controller housing!

Did you know soldering is required to rehome these controllers? Neither did I

There's a screw under the sticker, but I used hot air to peel it off without damaging it

After
I picked up a few controllers along with the XBOX One mentioned in my previous post. Out of the controllers, there was one fully broken one in a nice shell, and a fully working one in a busted shell. I fully disassembled both controllers, which was surprisingly harder than I expected. The vibration motors are held in the case in a way where it cannot be removed without desoldering the wires connecting it to the board. After putting the nice case on, I soldered the wires back into place. I also used hot air to remove the sticker on the back so I didn't have to poke through it to disassemble the controller. I'm very happy that this controller looks as good as new again!
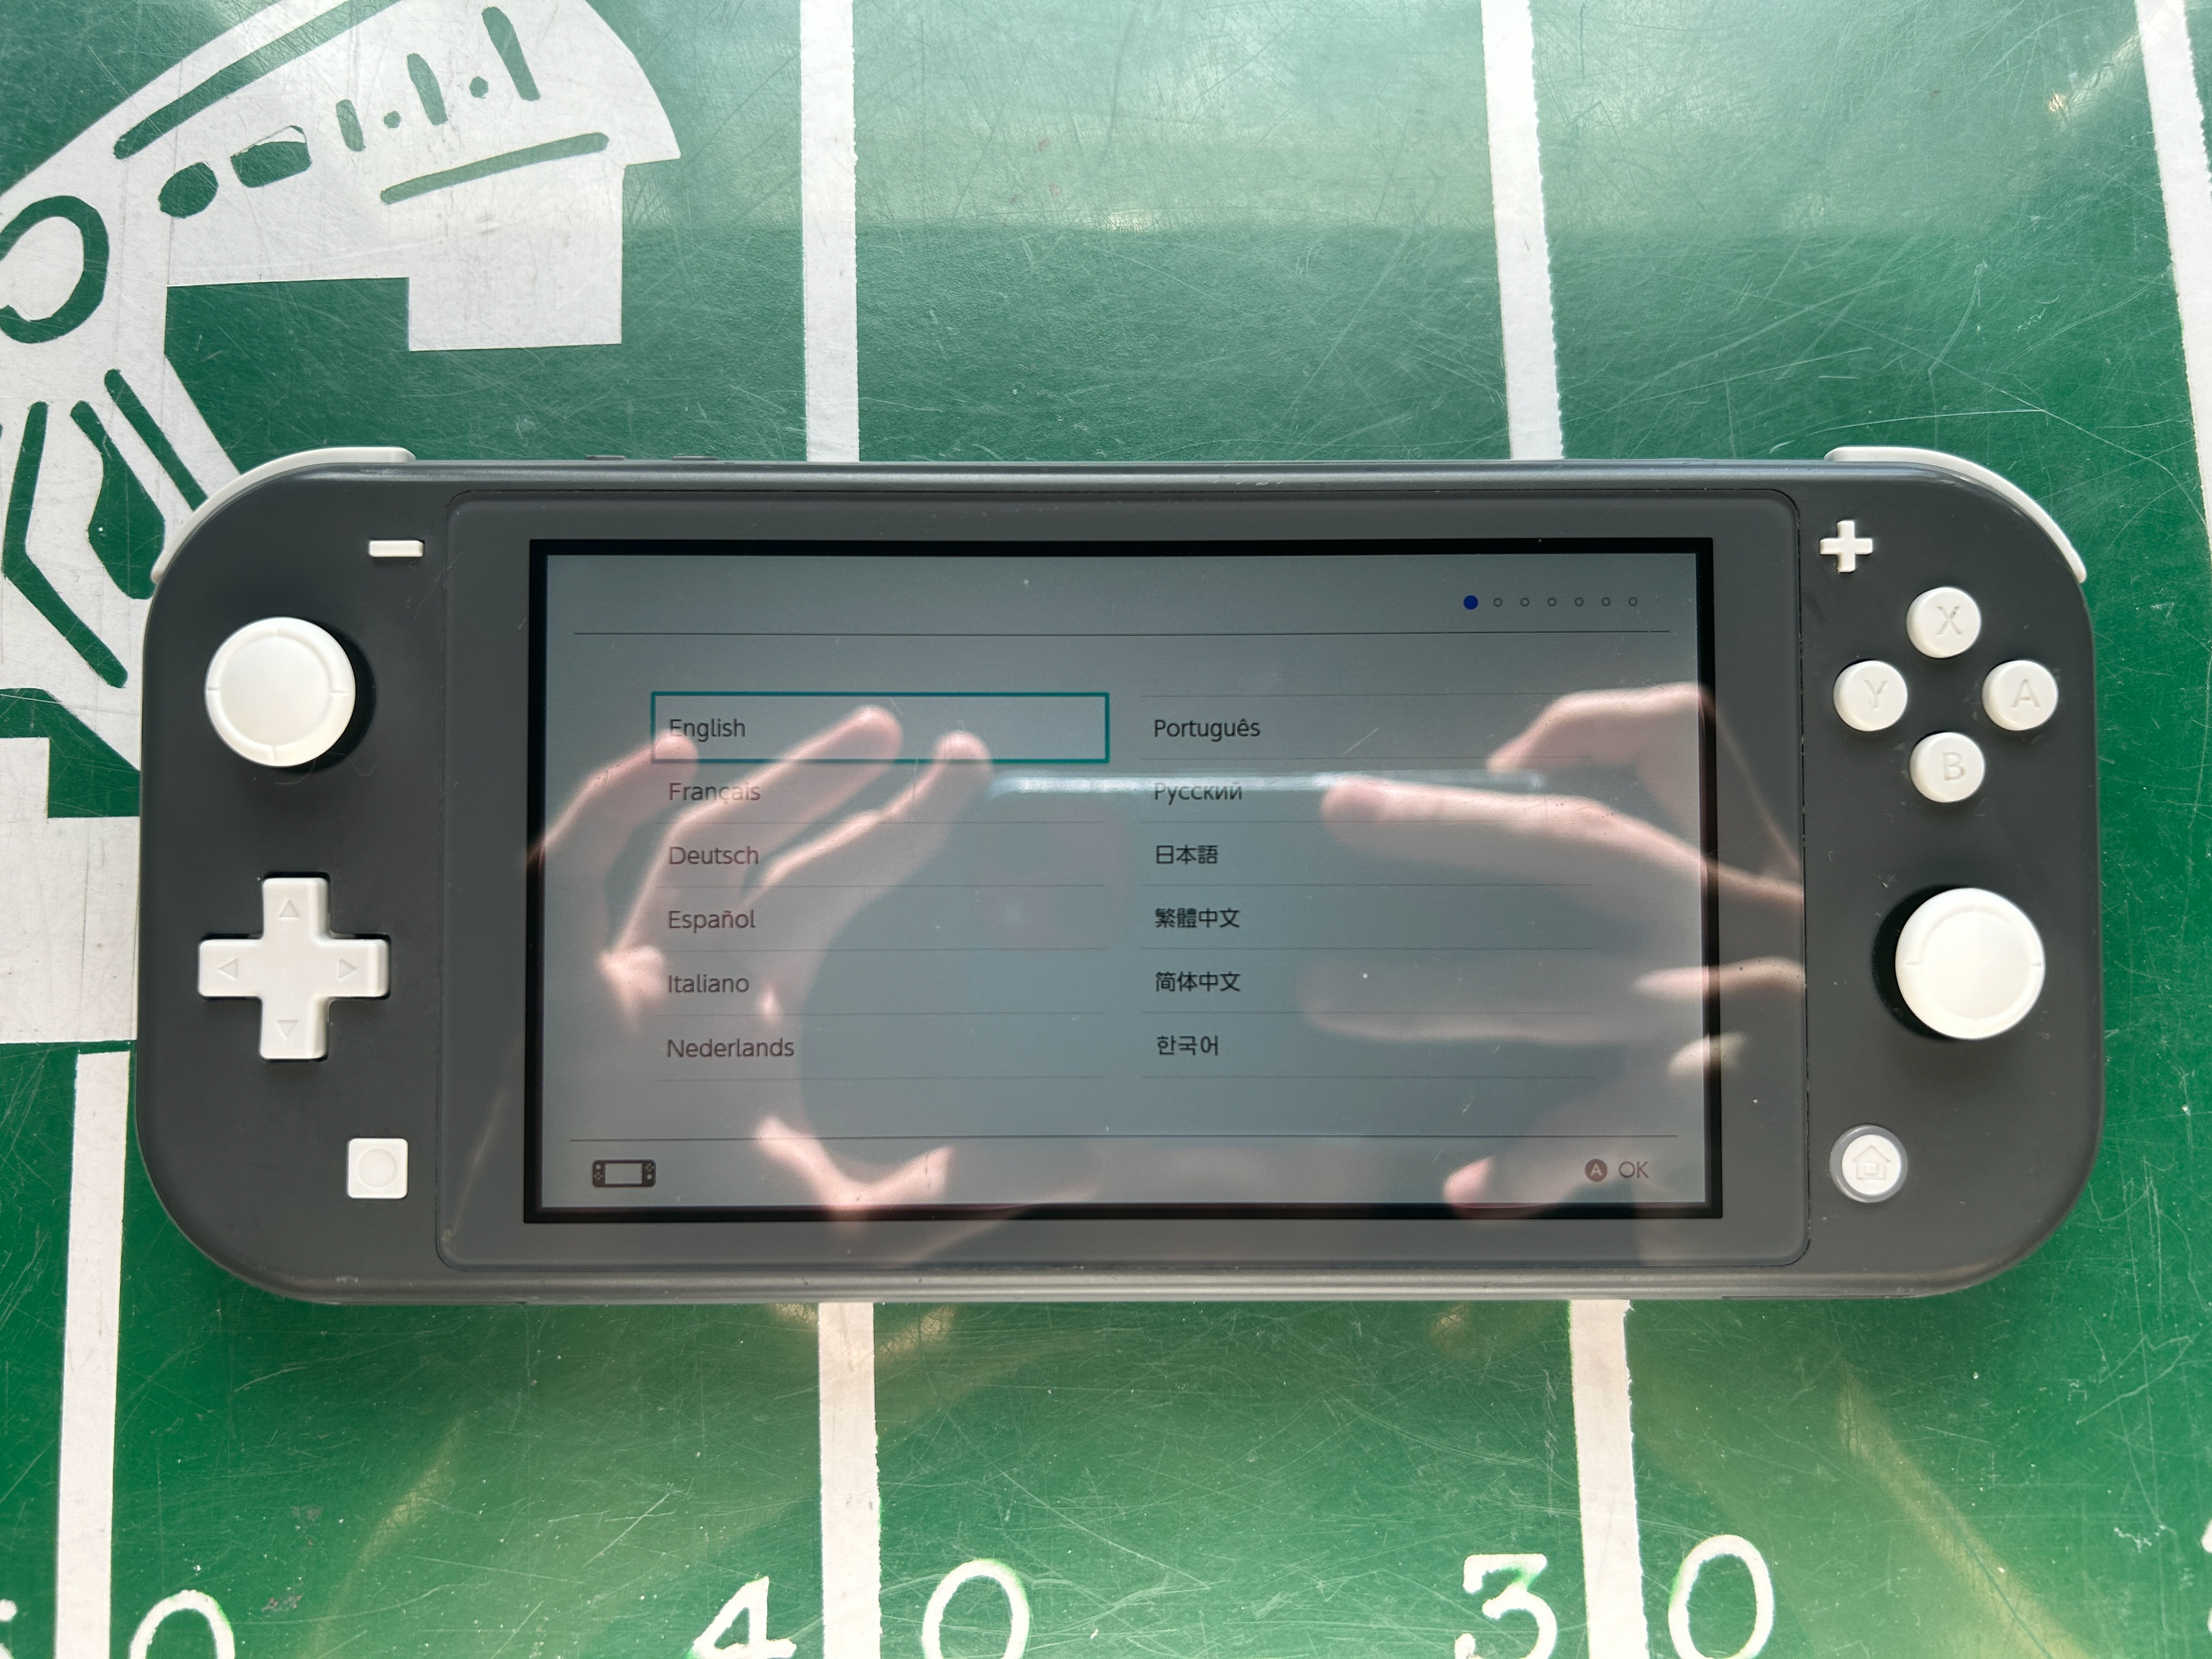
Replacing Switch Lite Joysticks
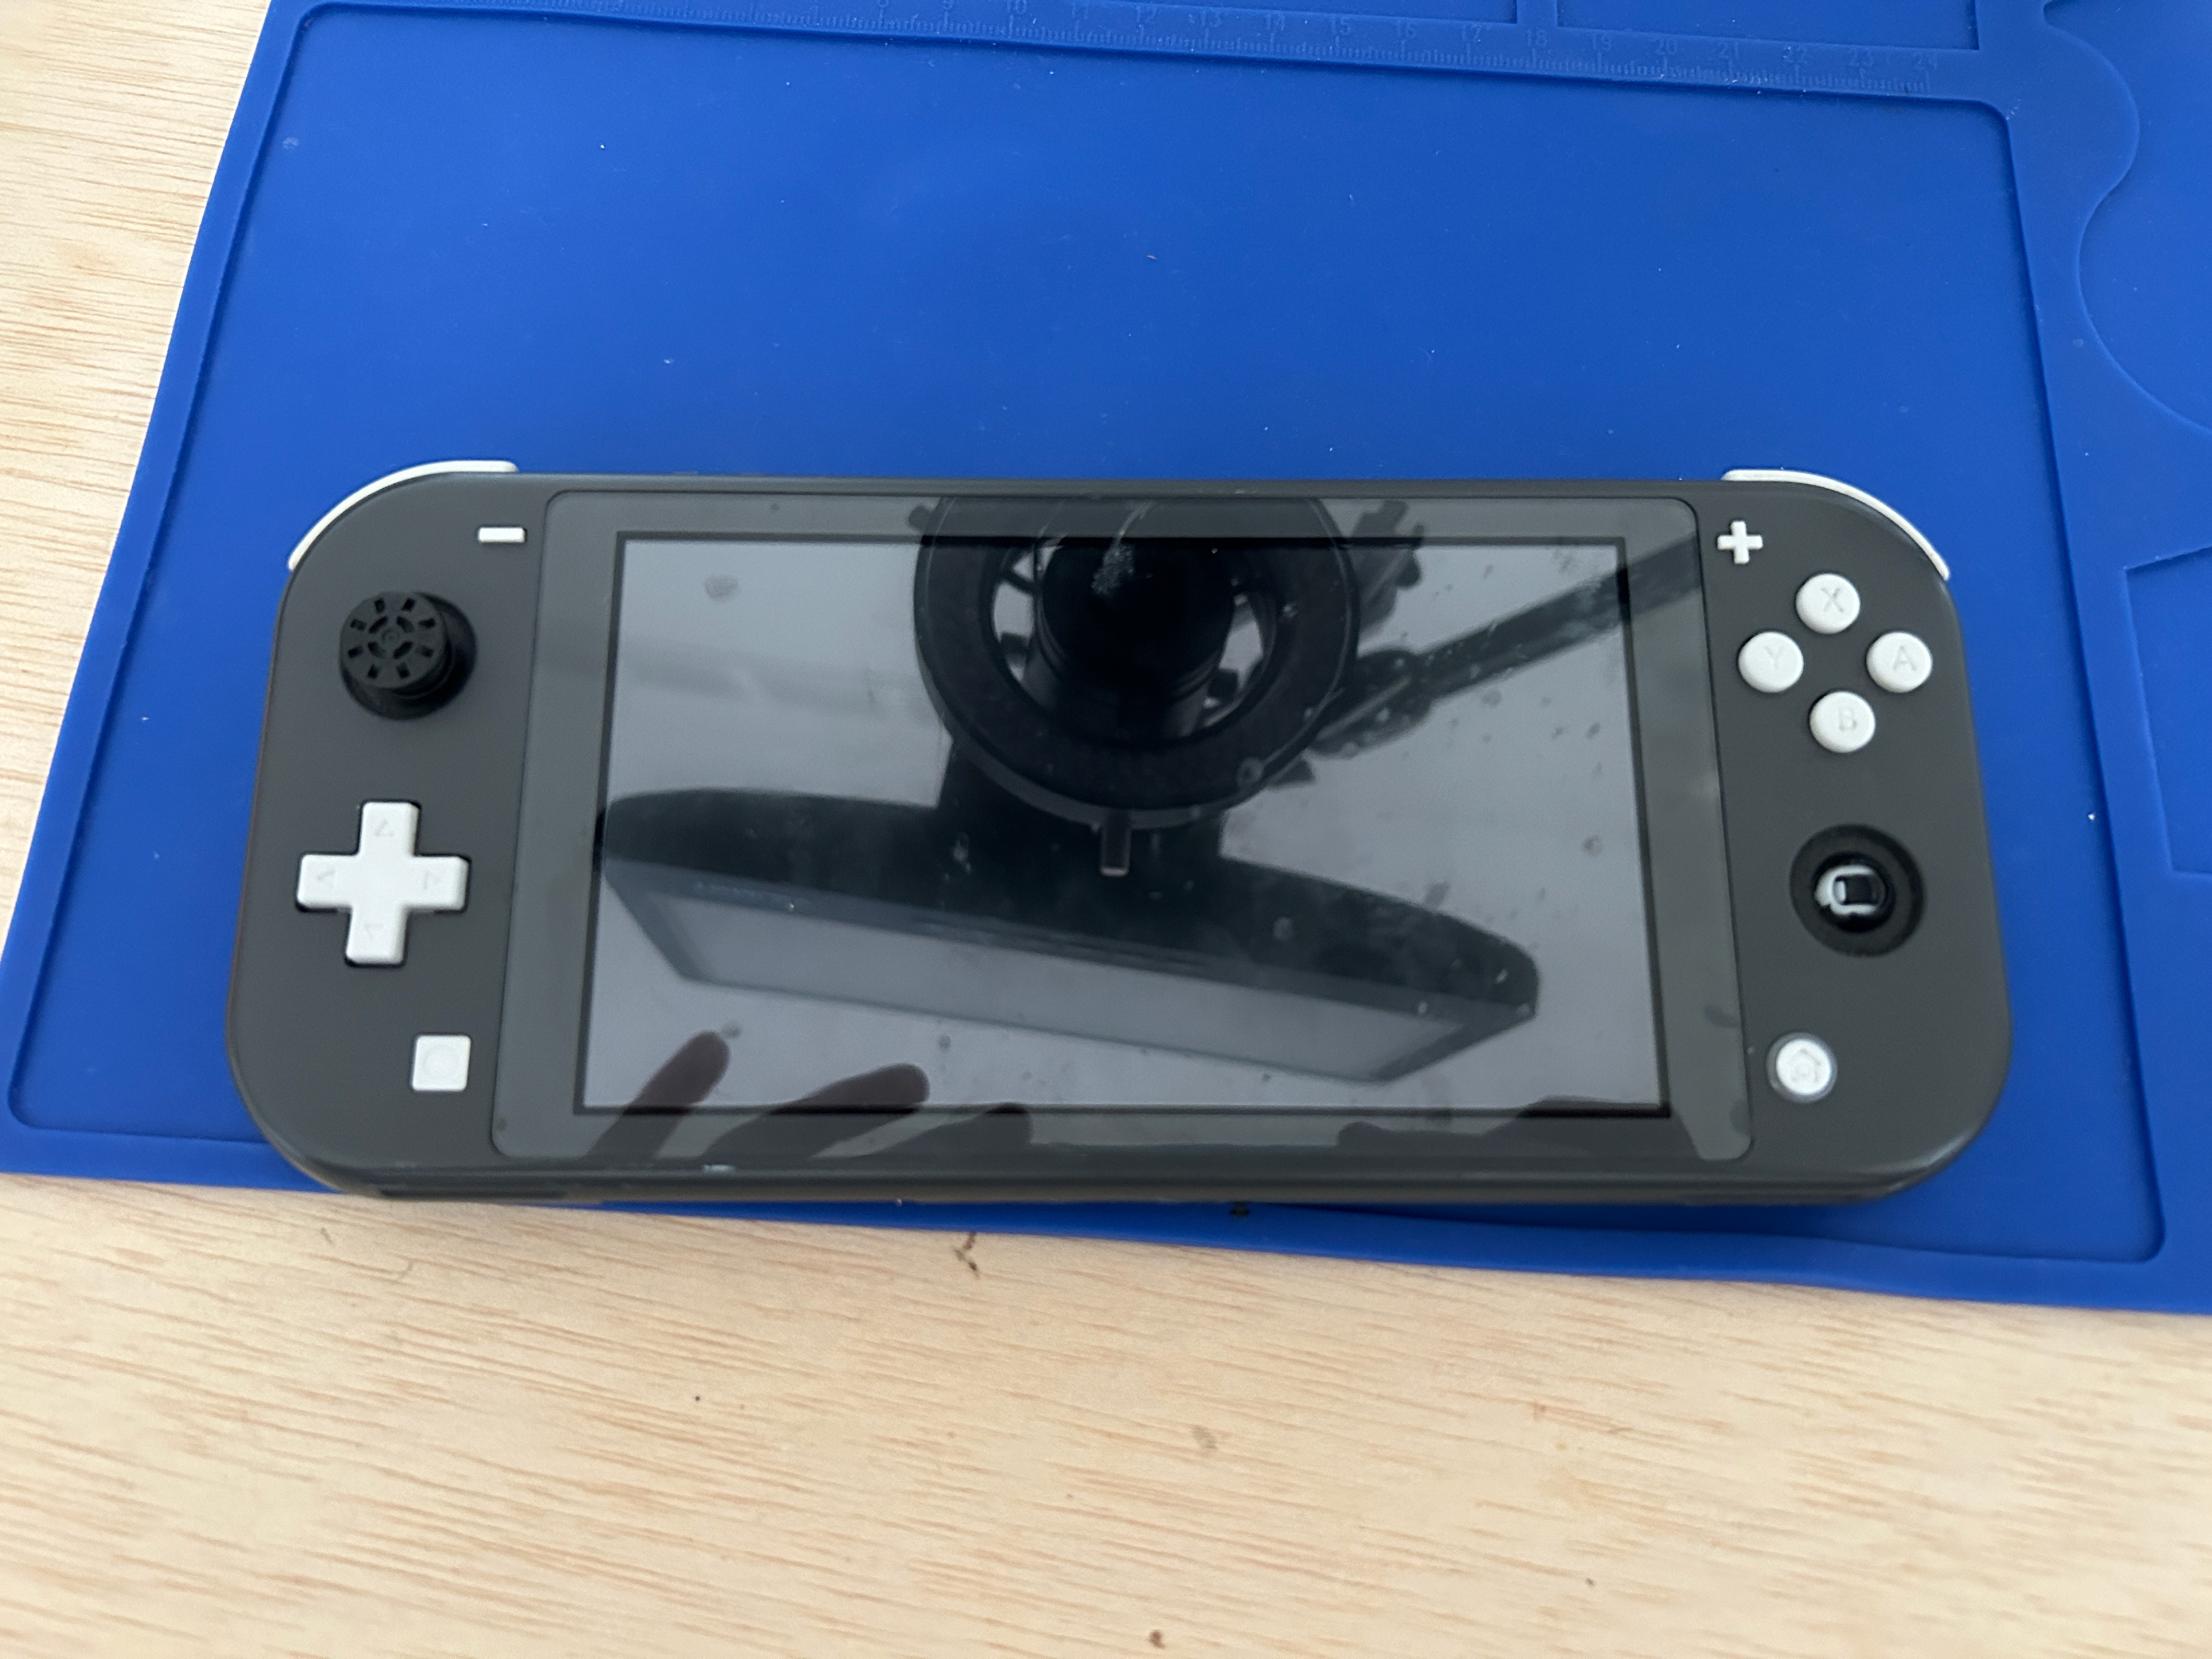
Switch lite with broken joysticks

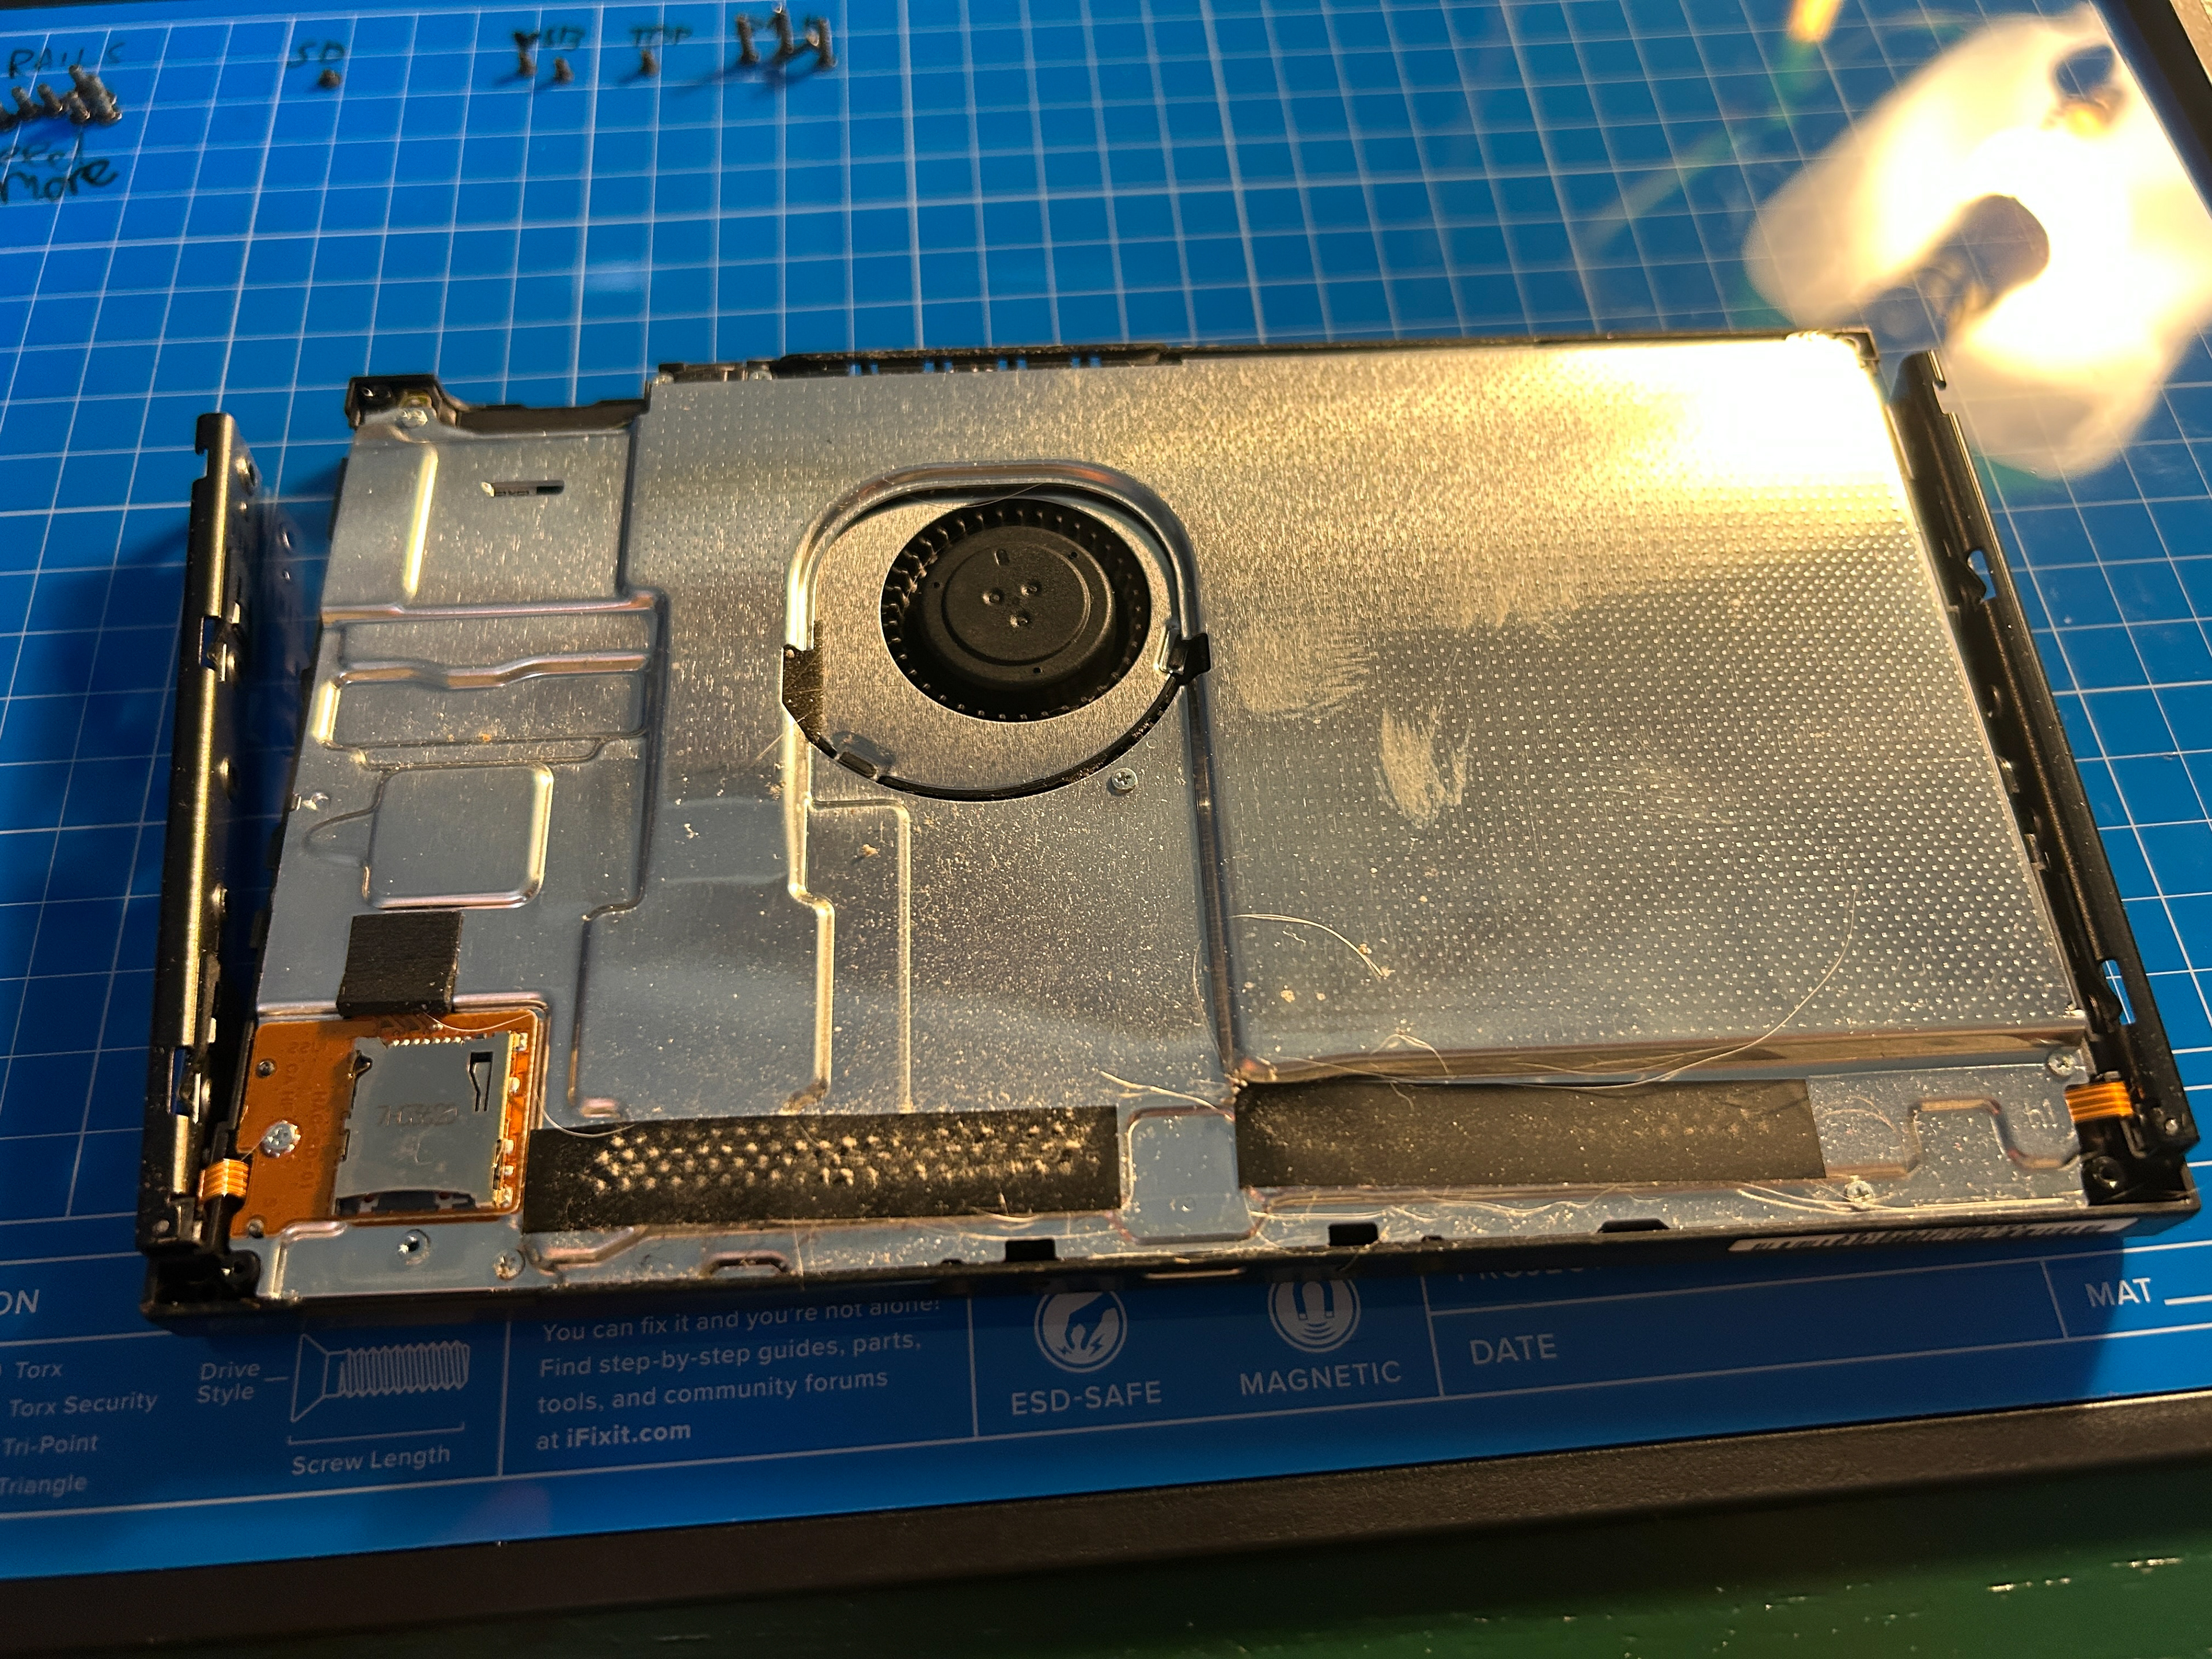
A look inside

Broken joysticks removed
Good as new!
This was a quick and easy repair. I ordered replacement joysticks online and just watched a tutorial video to figure out how to replace them. It was still exciting, because it was my first time disassembling a Switch.
Restoring a Nintendo 64

Dirty shell

Dirty shields

Dirty board

I wonder why it wasn't reading carts?? lol

Testing

Put back together

Voilà
I enjoy trash picking from time to time, and I usually donate most of the things that I find. However, I always keep an eye out for items that I can sell or trade for video games. This N64 was the result of that! I traded 3 hard drives I found for this broken and dirty console. Even after giving it a thorough clean, it would power on, but it wouldn’t read cartridges. After looking at it under my microscope, I could see that there was still gunk caked around each of the ICs on the board. It took over an hour of careful cleaning under the microscope, but I eventually cleaned all the gunk in hopes that it was the reason the console didn’t work. Luckily for me, it was! After testing, I was able to confirm that the console was in full working order. A little bit of elbow grease brought it back to life!
Replacing a Nintendo Switch fan
Before cleaning

Dirty fan

Cleaned fan

Old thermal paste
Fan noise before
Fan noise after
This was the first project I received due to somebody finding this site! This Nintendo Switch fan made a grinding noise immediately upon booting up a game. The console wasn't getting hot, but it was clear that the fan was not working as intended. Initially, I just took it apart with the intention of cleaning it and replacing the thermal paste, since sometimes that can fix excessive fan noise. However, when this did not fix the issue, I recommended that a new fan should be installed. After receiving the new fan from iFixit (one of my favorite companies!) I swapped it out with the old one. This fixed the issue, and now the Switch is good as new!